Setting Up Your Printers
Tips
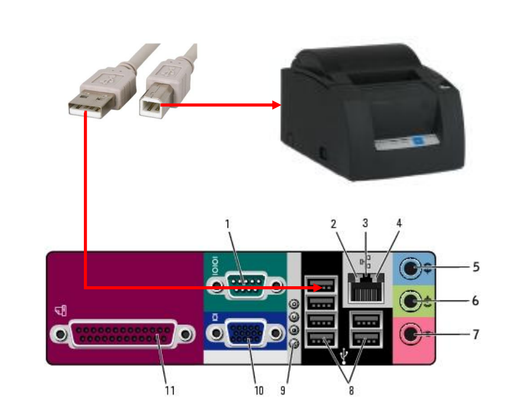
- USB TYPE-A CONNECT TO PC
- USB TYPE-B CONNECT TO PRINTER
INSTALLATION
CAUTION
- Install with Administrator privileges.
- Do not connect the TM printer, until installation of the APD5 completes.
- Close all running applications before the installation.
- Double click the APD5 installer and start the installation.
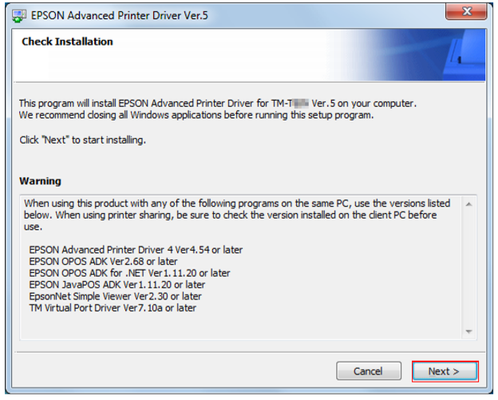
- The "Check Installation" screen appears. Check the [Warning].
- Check the computer environment and click [Next] to continue the installation.
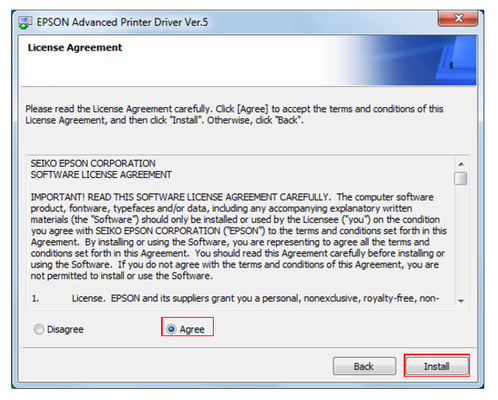
The "License Agreement" screen is displayed. After checking the contents and selecting "Agree", click [Install]
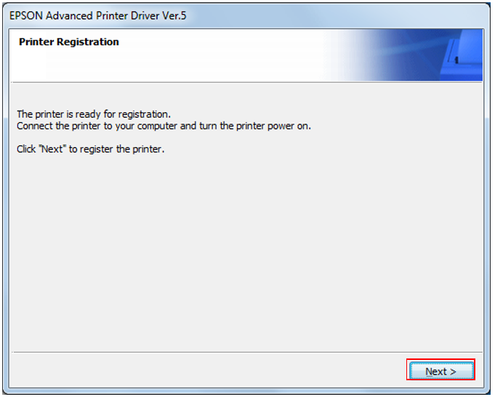
The "Printer Registration" screen appears. Here, connect the printer to the computer and turn the printer's power on. Click [Next].
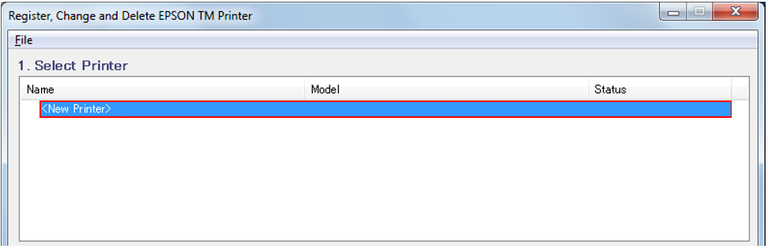
The "Register, Change and Delete EPSON TM Printer" screen is displayed. From [1. Select Printer], select "<New Printer>".
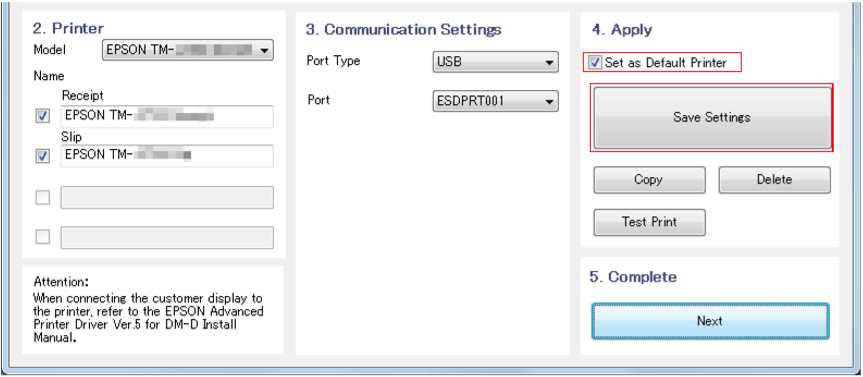
Select a port to use (COM/Parallel/USB/Ethernet) from [Port Type] under [3.Communication Settings]. Necessary settings are done according to the interface

When the printer is registered, the screen comes up as shown below. Click [Yes]. Test page printing of Windows is carried out.
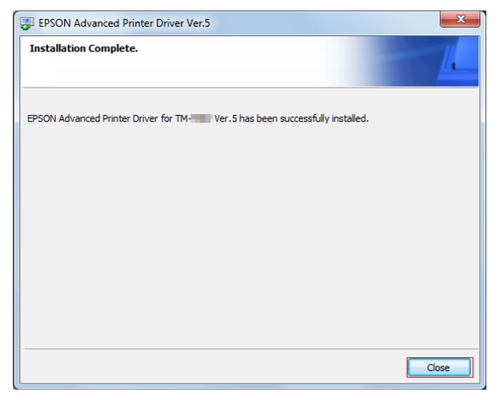
The "Installation Complete" screen appears. Click [Close] to finish the installation.
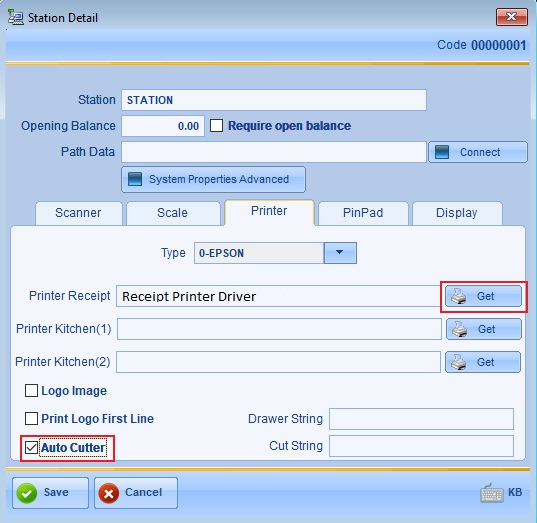
Select [GalaxyPOS] BackOffice [Manager] [Station] Necessary settings Tab Printer.
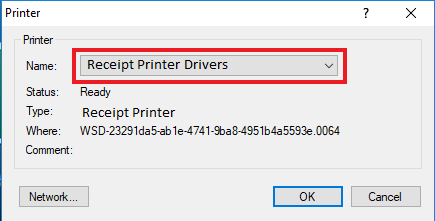
Select Brand printer / Receipt Printer drives [OK] Finish.